Efficient Drywall Repair Techniques to Restore Your Wall surfaces
Efficient Drywall Repair Techniques to Restore Your Wall surfaces
Blog Article
Drywall Setup Made Easy: Tips for Perfect Results
Drywall installation is often perceived as a difficult task, yet with the right approach and knowledge, it can come to be a convenient venture. Choosing quality products and preparing the installment location are important primary steps that establish the foundation for success. Grasping techniques for reducing, hanging, and ending up drywall can substantially impact the result. As we explore these essential tips, you may locate that even the smallest adjustments in your technique can result in remarkably improved outcomes, leaving you to take into consideration exactly how these methods can change your next job.
Selecting the Right Products
Picking the proper materials for drywall installation is important to achieving a sturdy and visually pleasing coating. drywall contractor. The key component, drywall sheets, typically been available in various thicknesses, with 1/2-inch sheets being standard for indoor walls. For areas requiring extra moisture resistance, such as bathrooms or kitchens, think about making use of eco-friendly board or cement board, which are specially made to withstand humidity
In addition, selecting the best fasteners-- either screws or nails-- is vital for safeguarding the drywall to the framework. Drywall screws are normally preferred for their holding power and reduced risk of popping. Lastly, take into consideration the finishing touches such as guide and paint, which not just improve the appearance but additionally shield the drywall from dampness and wear.
Preparing the Setup Area
Prior to starting the drywall setup process, it is vital to prepare the installment location completely. This preparation involves several vital actions to make certain a smooth and effective task. Clear the location of any kind of furnishings, devices, or blockages that can hinder accessibility. A clean work area lessens the risk of damages to existing items and enables effective activity during installation.
Following, inspect the walls and ceiling for any type of imperfections, such as fractures, holes, or mold and mildew. Address these problems in advance; patch any kind of problems and allow enough time for repair work to dry. Additionally, make sure that electric outlets, buttons, and pipes are effectively placed and made up, as this will certainly impact drywall positioning.
Think about the environmental conditions. A steady temperature level and humidity level are vital for optimum bond and efficiency of the drywall products. If necessary, utilize a dehumidifier or heater to develop ideal conditions.
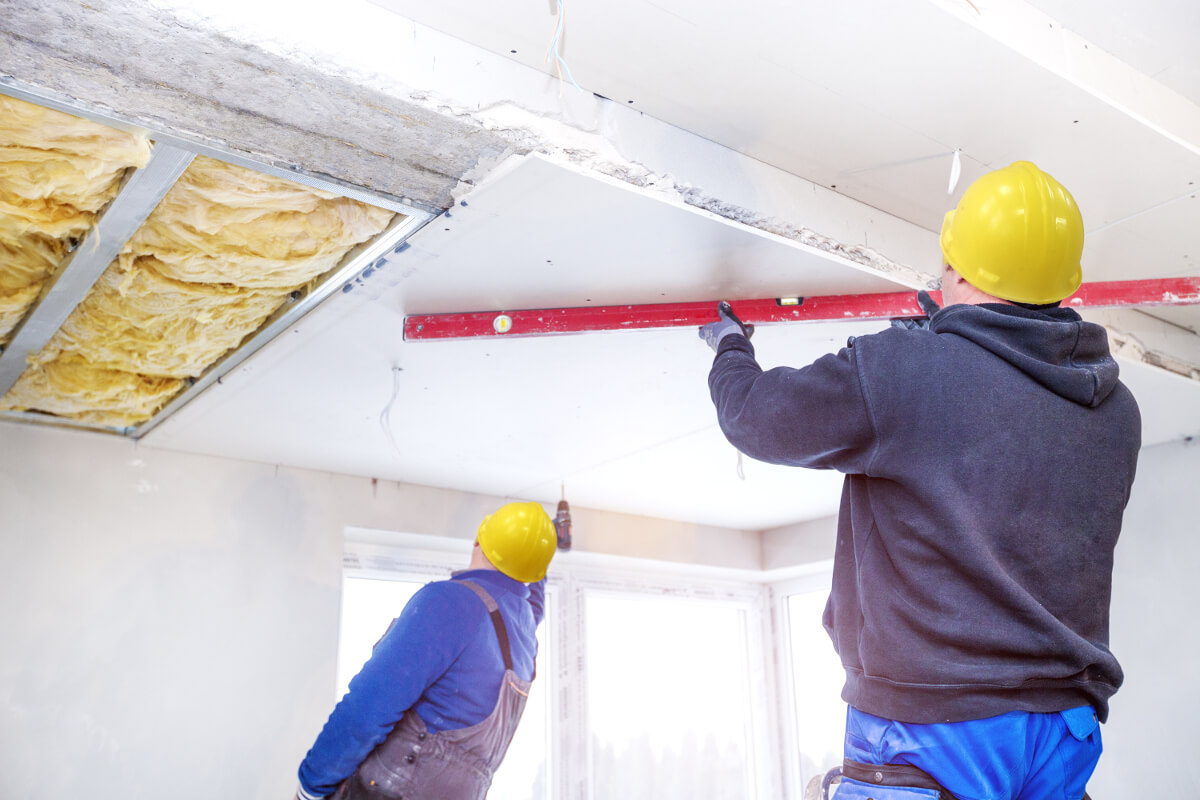
Cutting and Hanging Drywall
The key to effective drywall installation lies in the exact cutting and hanging of the panels. Make use of a straight edge and an utility knife to score the drywall along your measurements, then break it along the scored line for a tidy break.
Constantly work from the top down and entrusted to right, guaranteeing that you keep a staggered pattern to enhance security. Properly hanging the drywall sets the structure for a smooth finish, eventually leading to remarkable outcomes in your drywall task.
Taping and Mudding Methods
While correct cutting and hanging of drywall sets the phase, the following essential action entails grasping taping and mudding strategies to guarantee a seamless coating. Insulation is important for strengthening joints and protecting against cracks; it involves installing tape right into the used joint substance (mud) Begin with a quality fiberglass or paper tape, using the tape over the joint and pressing it right into the damp mud using a taping blade, guaranteeing no air bubbles stay.
As soon as the tape remains in area, apply a thin layer of joint compound over the tape, feathering the edges to create a smooth transition to the drywall surface. Enable this layer to completely dry entirely prior to sanding it gently to get rid of blemishes. Repeat this procedure, using added layers of mud as necessary-- usually 2 to 3 coats-- while slowly broadening the application area with each layer to accomplish a seamless look.
After the final coat dries, sand the surface with a fine-grit sandpaper till smooth. drywall repair. Keep in mind to use a mask throughout sanding to avoid breathing in dirt fragments. Grasping these taping and mudding methods is vital for accomplishing a professional-quality surface in your drywall installation
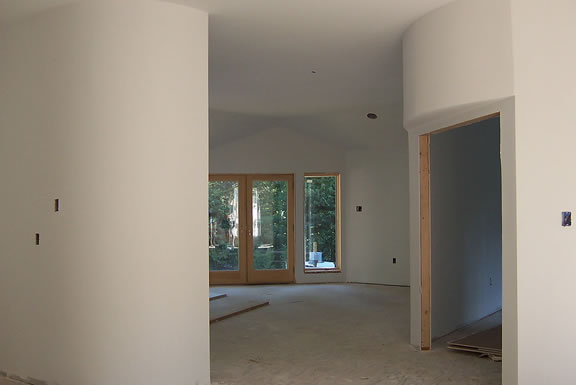
Finishing Touches for Excellence
Attaining a remarkable drywall setup surpasses taping and mudding; it finishes in the ending up touches that raise the overall look. These last steps hop over to these guys are essential in guaranteeing a professional-grade coating that boosts the looks of your area.
Begin by sanding the dried out joint compound to develop a smooth surface. drywall installation. After fining sand, wipe down the walls with a damp towel to remove any kind of dust bits, ensuring a tidy surface area for painting.
Next, use a primer especially made for drywall. This action is essential, as it assists seal the joint compound and offers a consistent base for the overcoat. When try this the guide dries, check for any blemishes, and touch up as needed.
Conclusion
In conclusion, successful drywall installment pivots on the careful selection of products, comprehensive prep work of the installment area, and accurate implementation of reducing and hanging strategies. Mastery of taping and mudding processes is crucial for achieving a smooth surface. In addition, focus to finishing touches, including priming and touch-ups, guarantees a professional-grade outcome. By sticking to these standards, the high quality of craftsmanship can be significantly enhanced, adding to the general visual and capability of the room.
Drywall setup is commonly regarded as a difficult job, yet with the appropriate approach and expertise, it can become a manageable venture.Selecting the suitable materials for drywall setup is important to attaining a sturdy and cosmetically pleasing coating.Before starting the drywall installment process, it is vital to prepare the installation location extensively. Understanding these taping and mudding strategies is important for accomplishing a professional-quality finish in your drywall installment.
In final thought, successful drywall installation pivots on the cautious option of products, extensive preparation of the installment area, and precise implementation of cutting and hanging techniques.
Report this page